How to Grout Tile
Grouting tile can often be a daunting job for anyone, whether a professional tile contractor or an individual completing a home project.
However, grouting tile does not have to be difficult or intimidating. With the right supplies, knowledge, and technique grouting tile can be easy and rewarding. Knowing how to grout tile properly is the key to ensuring the grout will both last and protect the tile from deterioration.
Whether you are working on a kitchen backsplash, the shower, or any tile project this article will provide clear instructions and tips on how to grout tile so you can grout with confidence and complete your project with flawless results.
Materials You Will Need
- Tile grout
- Grout float
- Sponge
- Masking tape (Painter's Tape)
- Bucket
- Rubber gloves or other protective gear
- Safety glasses
- Putty Knife
- Caulk
How to Grout Tile
Grout plays a vital role in the overall look and feel of tiled surfaces, so if you are looking to restore the old grout in your home, it can be beneficial to understand the steps necessary to do it properly.
We have compiled a list of steps to help you apply the grout to your beautiful tile.
Prepare your Tile Surface
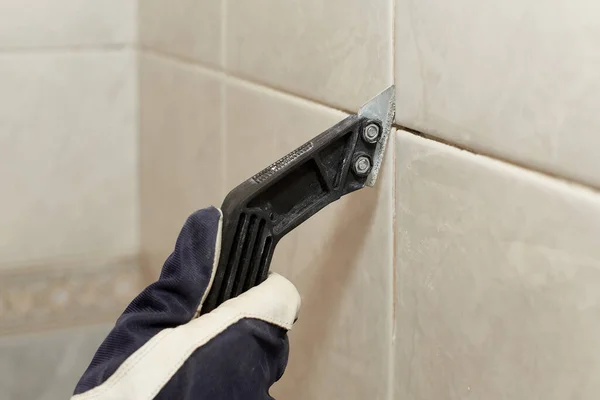
Preparing tile surfaces for grout application is a critical step in ensuring the tile installation's long-term success. Before grout application can begin, tile surfaces must be sufficiently clean, dry, and free of any dirt or debris that may interfere with adhesion. It is essential to clean the tile joints and grout lines
To clean the tile surface you can use a bucket and a sponge with a cleaner made specifically for the surface area you are working on or a general all-purpose cleaner. Use a vacuum to remove loose grout and a putty knife to extract any excess grout.

To make clean-up easier, apply tape around your work area. Do this to protect your walls and any special tiling with crevices and features from the grout. Keep the grout on the floor or wall and away from anything you do not want grout on.
Once you have cleaned your grout lines, and tiles, and have prepared your workspace you are ready for the next step!
Mix and Apply Grout
Once your tile surface is clean and ready to go, it’s time to mix the grout and apply it to your tiles. The amount of grout you will need depends on how many tiles you are working with and how big they are.
Mixing Grout
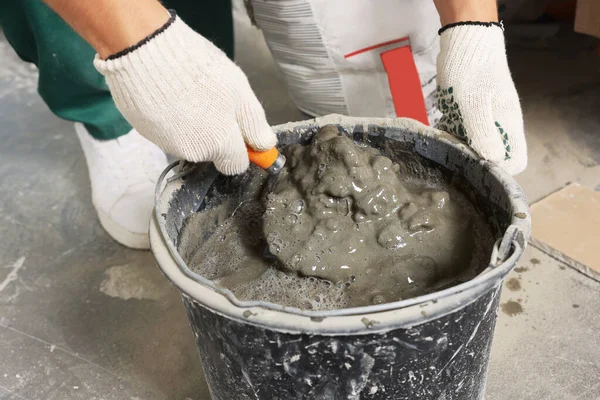
Once you have chosen your grout and grout color, begin by pouring a mix of dry grout powder into a bucket, then add clean water based on the manufacturer's instructions. Use the bucket to mix grout together. Once you have mixed the grout completely, you should use it within 20 minutes for the best results. Gently mix the grout into the bucket with your hands or mixers to create an even consistency.
If needed, add more powder or water until you achieve this consistency. Finally, allow the grout to set in the bucket for at least 10 minutes before applying it to your workspace or project.
Types of Grout
There are 2 main categories of grout: epoxy and cement-based grout. Cement-based grout can be broken up into 2 subcategories which are sanded and unsanded.
- Epoxy grout is used for high-traffic areas and is designed to be strong, durable, and waterproof. It is made from a combination of epoxy resin and filler material such as sand or quartz, which creates a strong bond between the tiles. This is mainly used for commercial use.
- Sanded grout is made from a combination of Portland cement, hydrated lime, and sand. Sanded grout is a popular choice because it has many advantages over other types of grout.
- Unsanded grout is a type of tile grouting that does not contain any sand or other abrasive materials. Unsanded grout is designed for use in areas where there are minimal amounts of foot traffic and where there is less need for a strong bond between tiles.
Applying Grout
When applying your fresh grout mixture, it is best if you use a grout float, a specialized tool designed for the application of grout, at a 45-degree angle to evenly spread grout diagonally across all the joints between tiles. If you are working on a tile backsplash or any wall tile, move the grout float upwards to keep your floor clean. Ensure that grout gets into the voids and grout joints between each tile by filling them completely.
Be sure not to overfill grout lines as this could create issues with clean-up and drying time.
Cleaning Up
Before your grout dries, you can use the grout float to clean up the excess grout that is left over on the floor or the wall. Make sure you are working diagonally to confirm the grout joints are filled completely.
Once your grout sets and is completely dry it is time to begin the clean-up process to make your tile look beautiful.
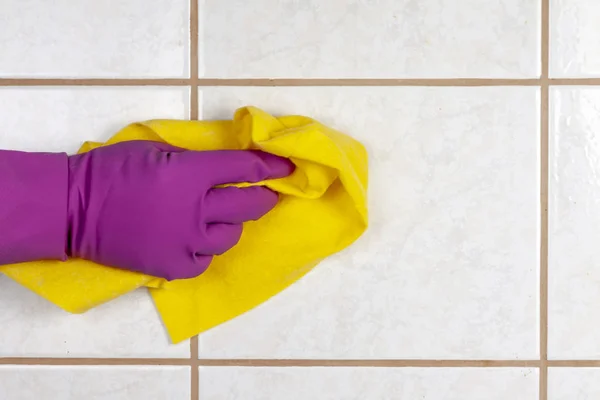
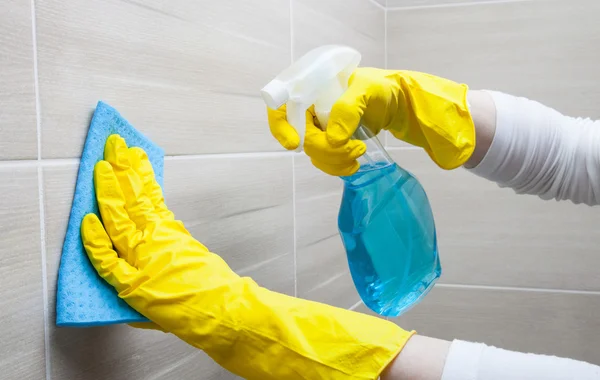
Take a damp sponge and use a circular motion to gently wipe down the tiles and remove leftover grout. The sponge will get dirty and will smear the grout, to prevent continual smearing rinse the sponge in clean water often. Continue to wipe down the tiles.
After you have wiped down the tiles, use a sponge to smooth out the grout lines. The most effective way to do this is to use a dampened sponge, not a wet sponge, and gently run it along each grout line, making sure no gaps or rough spots remain. This helps to create an even surface and ensure that all necessary joints have been filled in. Allow the grout to set after cleaning it again.
To finish the cleaning process, use a microfiber cloth to remove any grout haze that has formed over the tile. Wipe the tile with the microfiber cloth, a regular towel works as well bu the microfiber cloth is optimal.
Seal the Grout
Once the tile has been grouted, caulk/sealant can be used to create a finished look to further protect the grouted area from moisture, and fill the gaps between tiles and what abuts them such as bathtubs, walls, and counters, and make your tiling job look cleaner.
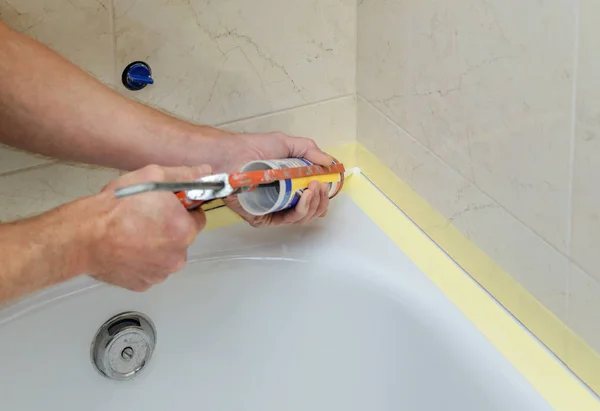
To apply the caulk start by cleaning the gap between the tiles with a wet cloth and/or with an appropriate cleanser. Then, caulk around the perimeter of the joint before running the caulk deep into the crack for a tight fit. Make sure to tool caulk with a finger or caulk tool for finishing and smooth out any ridges before allowing it to thoroughly dry.
Congratulations!
Congratulations! You have just learned how to grout tile. With this guide, you now have the necessary information on how to grout tile, what types of grouts are available, how to apply them correctly, how to clean up afterward, and how to seal your work for optimal protection against moisture. By following these steps carefully you should be able to successfully complete any tiling job with confidence! Don't want to do it yourself? Get a free tile estimate today from Floors & Tile In Style!