How To Remove Tile Backsplash: 4 Methods You NEED to Know
Removing a tile backsplash can be a daunting task, but it doesn't have to be! With the right tools and some patience, you can successfully remove tile backsplash and make way for a new backsplash.
Whether you’re replacing the old tile with some new tile for a modern feel or just want to freshen up your current space, this guide will show you how to remove kitchen tile backsplash easily to make your big project less overwhelming!
We'll cover everything from prepping the area to cleaning up after removal is complete. So let's get started!
Tile Backsplash
A tile backsplash is a decorative covering used to protect walls from splashes and stains in kitchens or bathrooms.
It typically consists of ceramic, stone, glass, metal, or other materials which are arranged in various shapes and colors to create a unique design.
Tile backsplash can be used on any wall surface that is susceptible to easy access water damage including the counter, around sinks and showers, behind stoves and dishwashers as well as anywhere else you want to add an extra layer of protection with style.
With its durability and wide range of designs available, tile backsplash is a great way to personalize your kitchen or bathroom while also protecting it from the elements.
Types of Tile
There are many different types of tile available, from classic ceramic tiles to modern mosaic tile backsplash. One tile has its type of unique characteristics that make it suitable for certain applications.
Ceramic Tile
Ceramic tile backsplash is a popular choice for kitchen and bathroom walls due to its durability, water resistance, and wide range of designs available. Ceramic tiles are made from clay that has been fired in a kiln at high temperatures, making them much harder than ordinary clay.
This makes them ideal for protecting walls from splashes and stains. They can also be easily cut with a wet saw if needed to fit your space perfectly.
Stone Tile
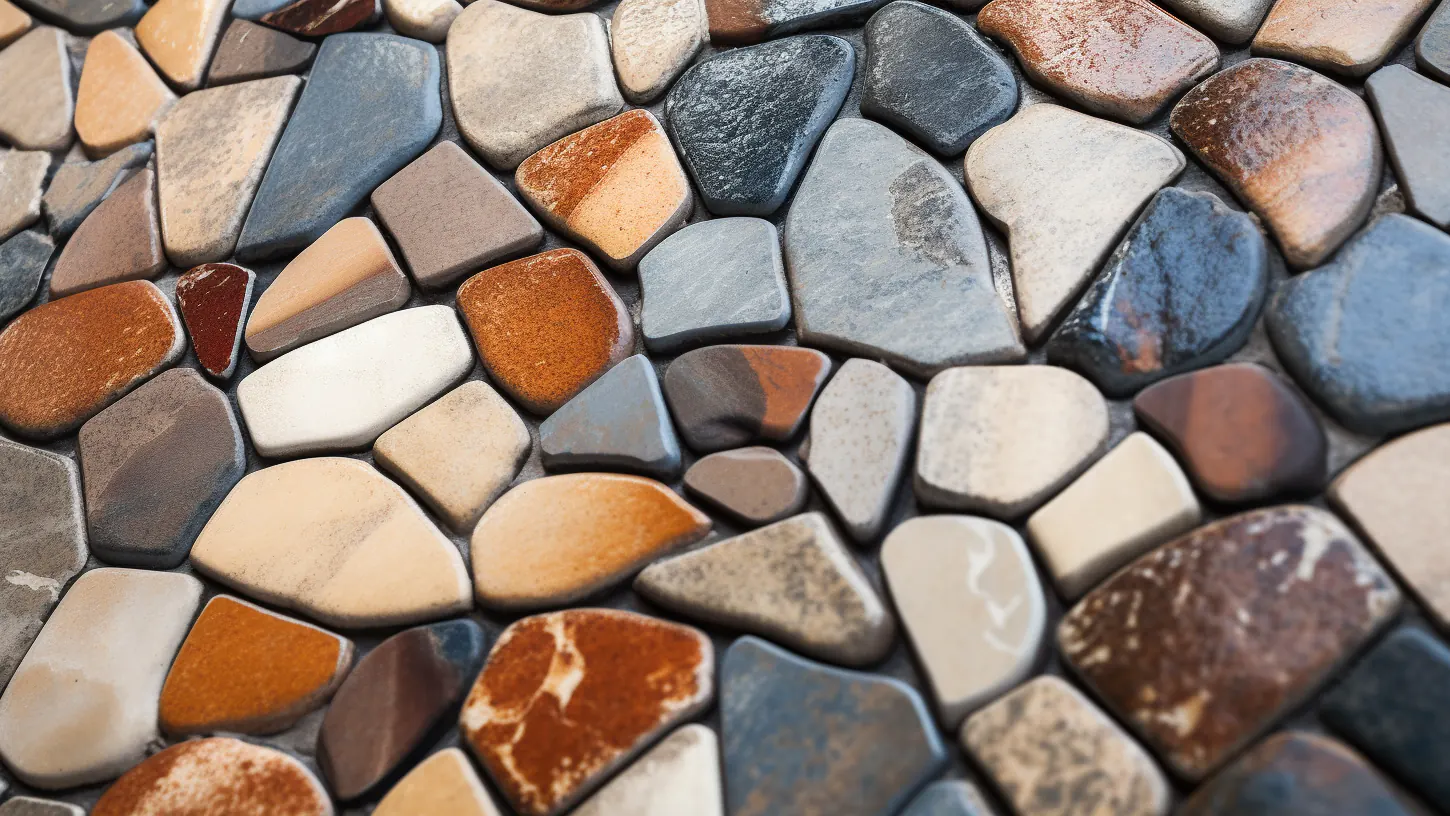
This type of backsplash can be made from a variety of materials including marble, granite, travertine, slate, and limestone. Stone tiles are known for their durability and resistance to water damage which makes them ideal for areas that are exposed to moisture.
Whether it's natural beauty or modern sophistication you're after, stone tile backsplashes will give your space an elegant touch!
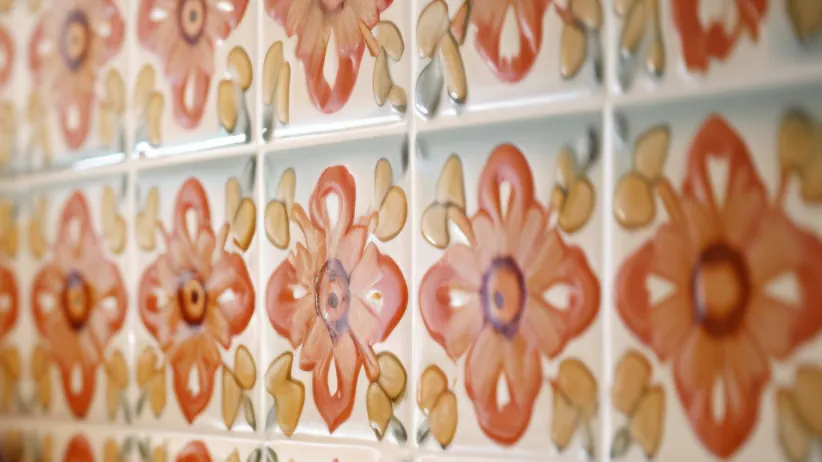
Glass Tile

Unlike ceramic tiles, glass tiles are not fired in kilns which makes them much thinner and lighter than their ceramic counterparts. This makes them easier to install as well as easier to clean.
With its unique reflective qualities, the glass tile backsplash will create an eye-catching feature that adds depth and dimension to any space! Plus it's durable enough for high moisture areas so you don't worry about water damage over time either.
How to remove tile backsplash; Methods of Tile Removal
Now that you know the different types of tile backsplashes available, let’s discuss the best methods for removing them. Many of these methods are similar to removing floor tile. The method you choose should depend on the type of tile and how it is installed on your wall surface.
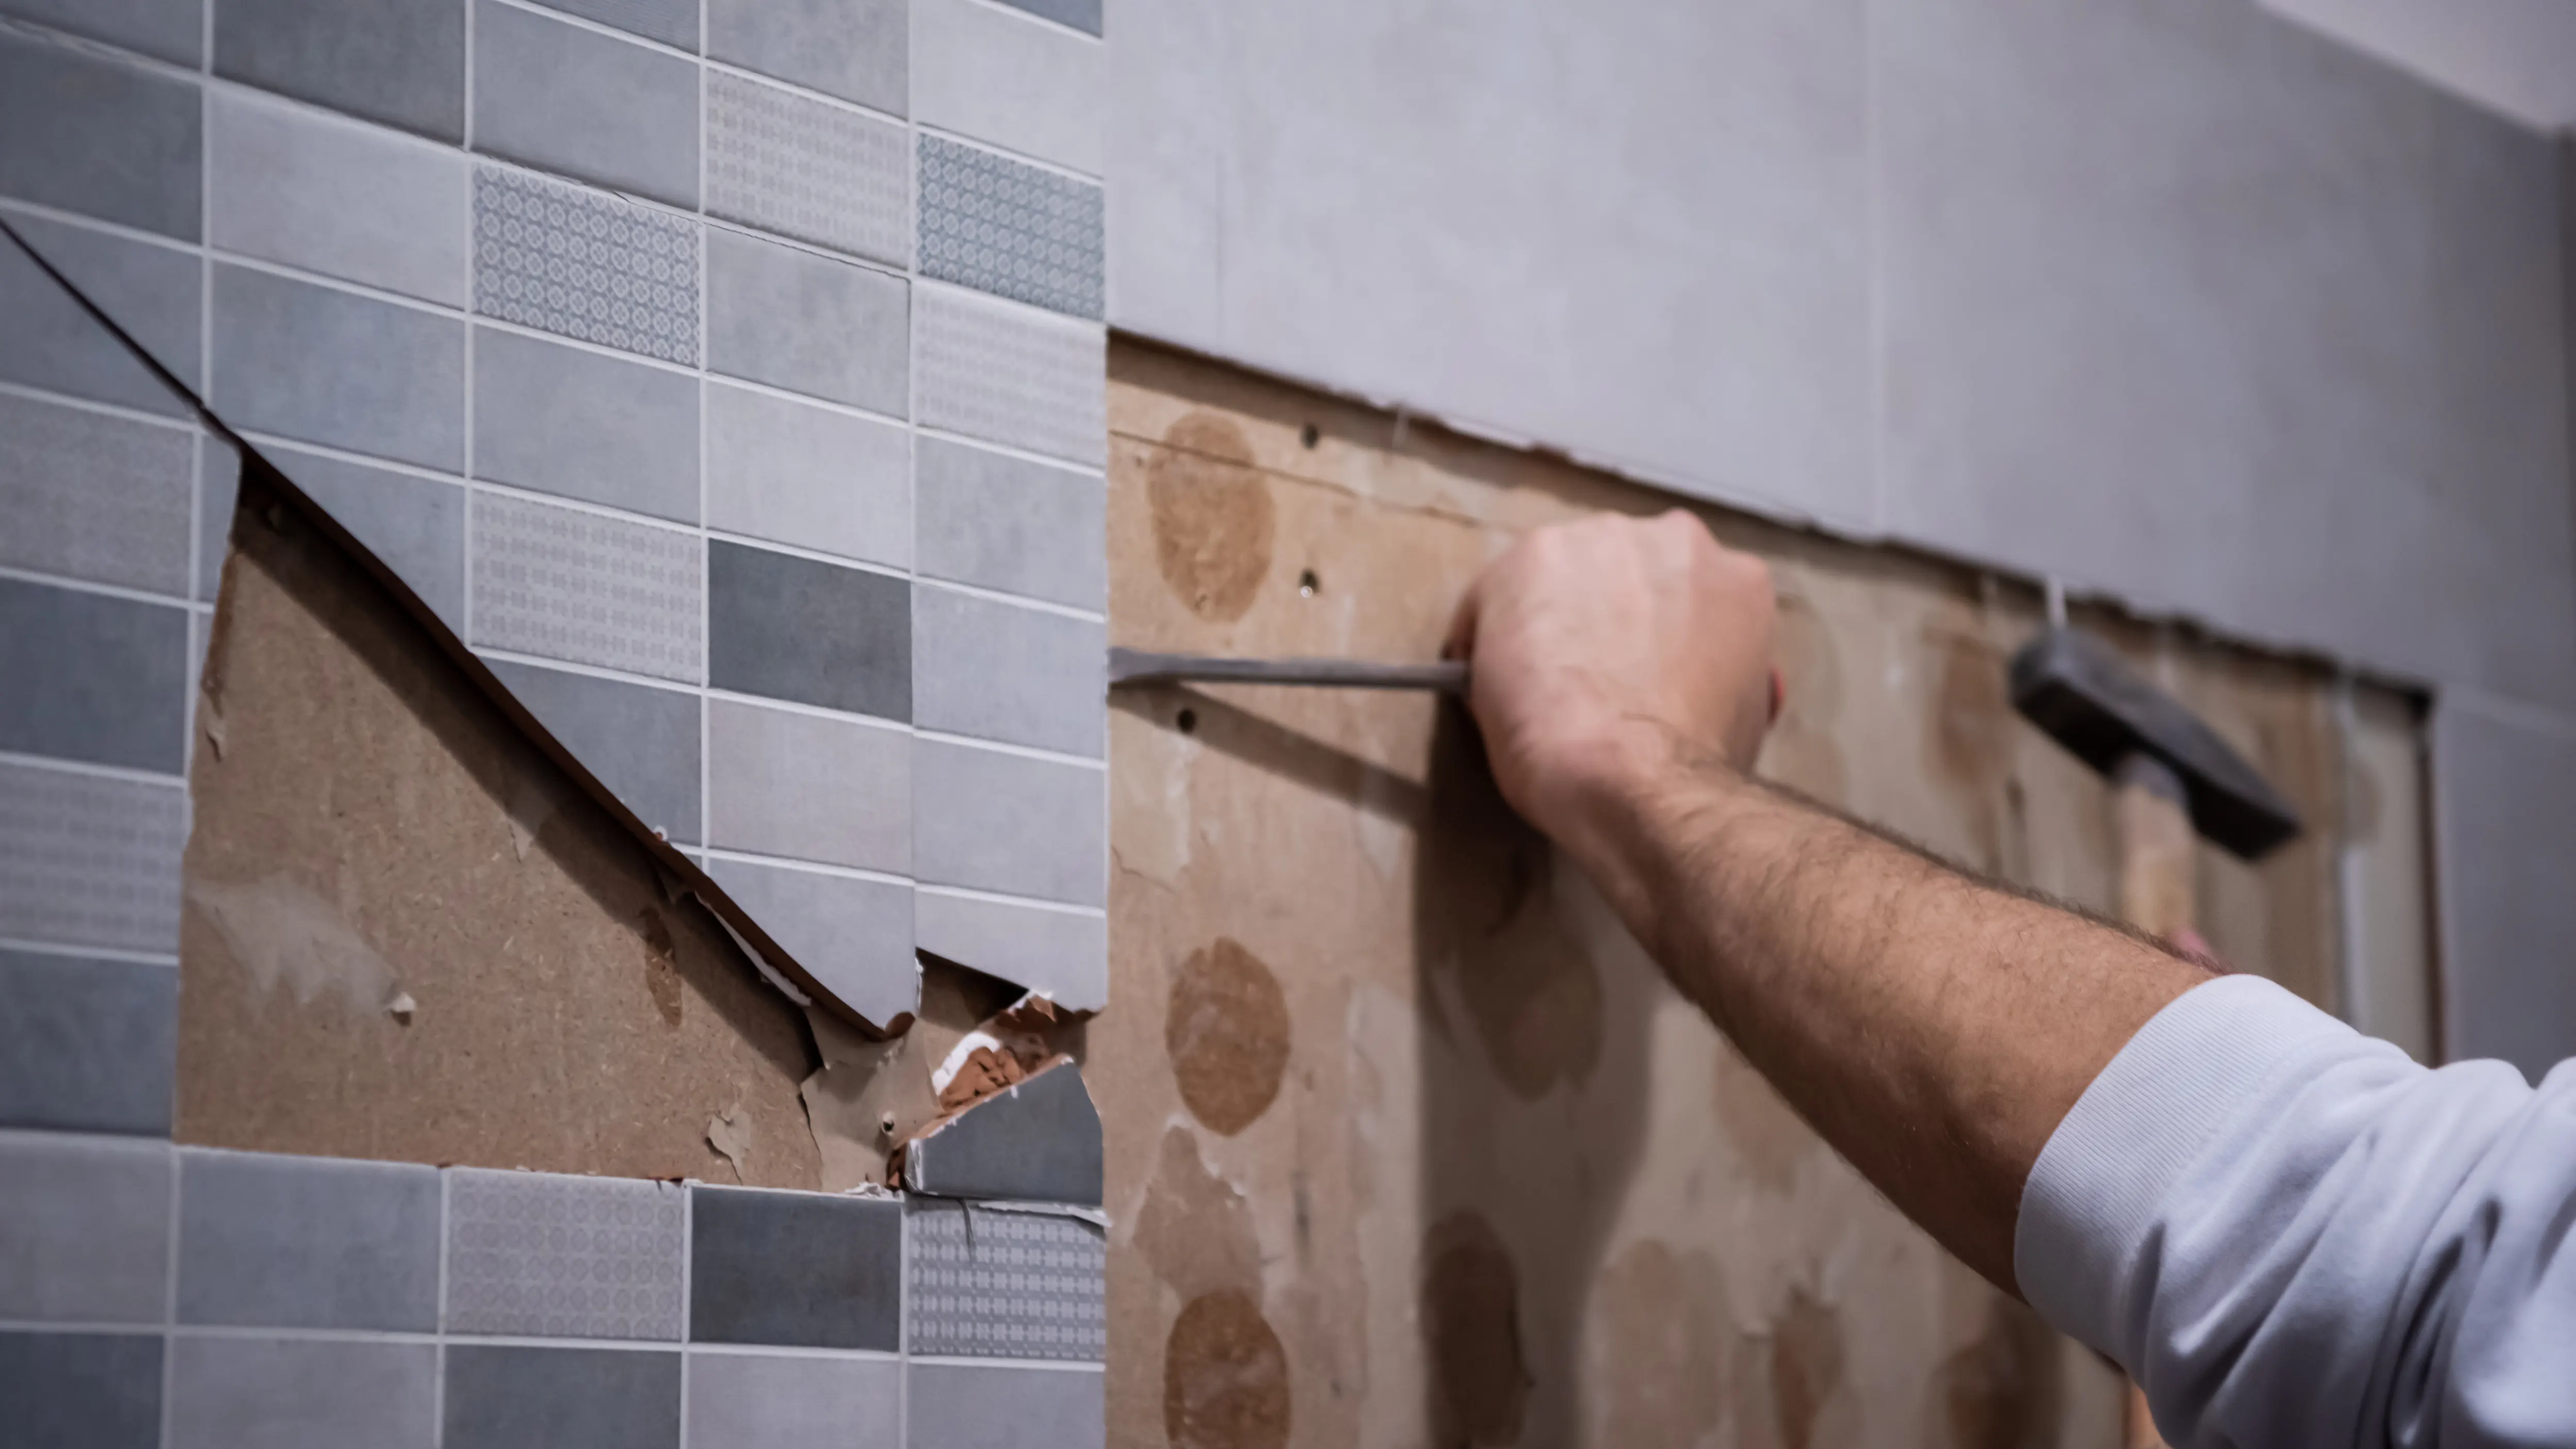
Method 1 - Chisel and Hammer
The most common way to remove ceramic tiles is by using a chisel and hammer to chip away the tiles one by one. This is a slow and labor-intensive process that requires patience and precision to ensure no damage is done to the wall beneath.
- Step 1: Start by removing any furniture or appliances and cover any remaining surfaces with drop cloths.
- Step 2: Put on safety glasses and protective gloves as hammering chisels can create dust particles that may irritate the eyes and skin.
- Step 3: Place the chisel on one side of the tile you wish to remove and tap gently with a hammer until it loosens from the wall.
- Step 4: Work your way around each tile until all have been removed.
- Step 5: Discard any old tiles and enjoy your new backsplash!
Method 2 - Electric Power Tools
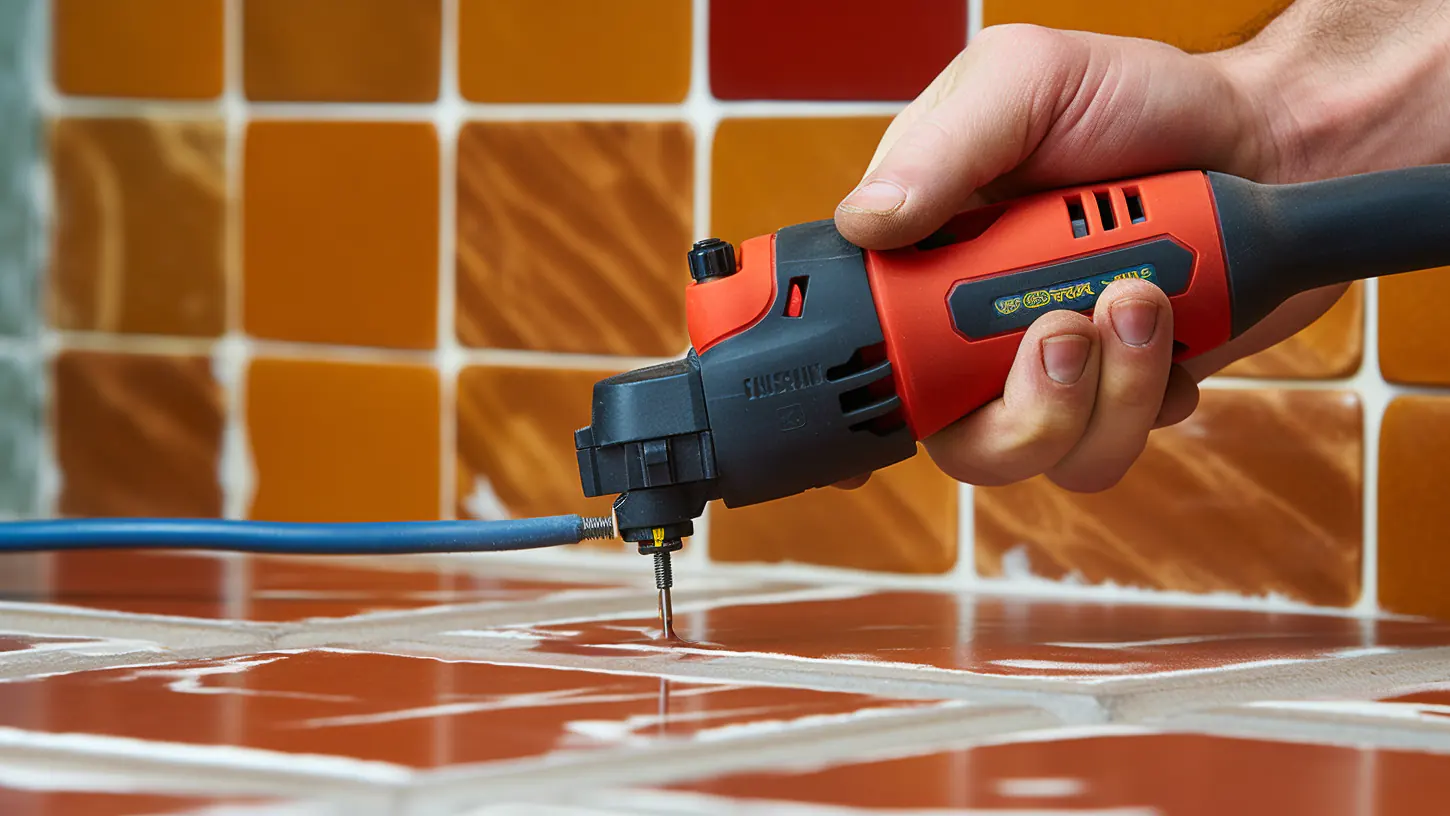
Removing stone tiles can be tricky due to their heavier weight. You will need to use an electric drill with a masonry bit attachment to create holes in the edges of the tile.
Once you have enough holes, you can then use a chisel to break away pieces until all have been removed. This method ensures that you will get a clean cut on all of your tiles and reduces the chances of damage during removal.
- Step 1: Start by removing any furniture or appliances and covering any remaining surfaces with drop cloths.
- Step 2: Put on safety gear such as protective goggles and gloves.
- Step 3: Using an electric drill with a masonry bit attachment, begin creating holes in the outer edges of each tile. Drill holes that are approximately one-third of the way across the width of the tile.
- Step 4: Now that you have enough holes drilled in each tile, use either a chisel or reciprocating saw (depending on how thick and sturdy your tiles are) to break away pieces until all of them have been removed completely.
- Step 5: Once all of the tiles have been removed, clean up any dust or debris left behind from drilling and chiseling, using a shop vacuum or damp rag.
- Step 6: Discard any old tiles and enjoy your new backsplash!
Method 3 - Water Jetting or Steam Cleaning Systems
Glass tiles are much more delicate than ceramic or stone so extra care must be taken when removing them. You should start by using a wet saw to make small cuts in the grout lines between each tile. Once you have enough of these cuts, you can then use a chisel to gently chip away pieces of the tile. These systems are powerful enough to quickly remove any unwanted tiles without causing collateral damage.
- Step 1: Begin by prepping the area for removal. Carefully remove any unnecessary items and cover any remaining surfaces with drop cloths.
- Step 2: Make sure you are wearing protective goggles and gloves.
- Step 3: Connect a water jetting or steam cleaning system to an exterior faucet or garden hose.
- Step 4: Adjust the pressure settings of the water jetting or steam cleaning system based on the type of tile you are removing (i.e., glass tiles require a low-pressure setting).
- Step 5: Start at one corner of the tile backsplash and move back and forth using an even sweeping motion until all tiles have been removed. Depending on the size of your backsplash area, you may need to adjust the nozzle angle accordingly for more accurate results.
- Step 6: Once all of the backsplashes have been removed, use a damp rag to clean up any dust or debris left behind.
- Step 7: Discard any old tiles and enjoy your new backsplash!
Method 4 - Heat Gun
A heat gun is the best option for removing glass tiles since it softens the rock-hard adhesive and makes them easier to peel away from the wall. This method works best if you have access to a professional-grade heat gun, as regular household hair dryers may not get hot enough to properly remove the adhesive.
- Step 1: Begin by prepping the area for removal. Remove any unnecessary items and cover any remaining surfaces with drop cloths.
- Step 2: Put on safety gear such as protective goggles and gloves.
- Step 3: Connect a professional-grade heat gun to an exterior outlet or extension cord.
- Step 4: Adjust the temperature settings of the heat gun based on the type of tile you are removing (i.e., glass tiles require a higher temperature setting).
- Step 5: Start at one corner of the tile backsplash and move back and forth using an even sweeping motion until all tiles have been softened or completely removed, depending on your desired
- Step 6: Discard any old tiles and enjoy your new backsplash area!
Prepping the area for removal
Before you can safely remove your bathroom or kitchen tile backsplash, it's important to properly prepare the area. This includes removing any furniture and kitchen appliances that may be in the way, removing both outlet covers and light switches, as well as covering the floor and counters with plastic or a drop cloth to shield them from debris.
You'll also want to make sure you have all the right materials on hand for the tile removal such as chisels, hammers, drills, wet saws, and heat guns if necessary.
Once everything is ready, double-check that there are no items nearby that could be damaged during removal before beginning work. Taking these extra steps will ensure a safe and successful backsplash removal!
How to avoid any damage when removing the backsplash
Removing a kitchen backsplash tile or bathroom backsplash tile can be a tricky task and if not done carefully, it can cause serious damage to your painted walls or even the entire wall, the drywall underneath, cabinets, and countertops. Improper methods of removing the tile such as using too much force or heat can result in cracks or chips in the wall and tile, which will require costly repairs, which is why it is always recommended to hire a tile expert.
Additionally, certain types of glass tiles are more delicate than ceramic or stone so extra care must be taken when removing them. If you’re not careful, you could end up scratching them beyond repair.
Therefore, it is important to take the necessary steps when removing any type of backsplash tile to ensure that no harm is done during the removal process!
Materials you may need for removing backsplash tile
Removing tile backsplash from a kitchen or bathroom can be a tricky task, but it can be done quickly and efficiently. Here are some of the tools you'll need for the job:
- An electric power tool with an oscillating head or rotary cutting blade attachment – for clean cuts on all tiles
- Water jetting or steam cleaning systems – designed specifically for ceramic tile removal
- Putty Knife - used to remove tile and can spread adhesive or caulk
- Rubber Mallet and/or Hammer
- Safety Glasses - to protect your eyes
- Work Gloves - to protect your hands
- Hand Sander - for smoothing out rough edges and preparing surfaces In conclusion
- Drywall Joint Compound - a material used to fill gaps, seams, and cracks in drywall surfaces.
- Utility Knife - for cutting through grout lines.
Pros Vs. Cons
Removing old tile backsplash can be a great way to give your kitchen or bathroom a fresh new look. There are many pros and cons to consider before undertaking this project, so it’s important to weigh them carefully.
Here are some of the advantages:
PROS
- It eliminates any potential damage caused by water leaking behind the tiles
- You can update the look of a bathroom or kitchen
- A cost-efficient project
- Removing old tiles allows you to access areas that may need repairs or maintenance
CONS
- It is an incredibly time-consuming task and may take a considerable amount of effort to complete
- Carries the risk of damaging the wall or countertops
- Depending on the type of tiles, you may need to rent or purchase specialized equipment for removal
Cost of Removal
Self-Removal
Removing old tile backsplash is a great way to give your kitchen or bathroom a fresh new look, but how much will it cost?
The estimated cost of removing backsplash tiles depends on several factors such as the type of tile, size, and shape of the area being worked on, and any special tools that might be needed for removal.
Professional-Removal
Generally speaking, labor is usually one of the biggest expenses when it comes to tiling projects so if you’re planning to do this project yourself then it’s important to factor in the time spent doing the job. feel free to contact us at floor-tile for a free estimate.
On the other hand, if you decide to hire a general contractor then there may be additional costs associated with renting or purchasing specialized materials.
Our team is well-equipped and ready to take on any job that you may have. Contact us for help or anything else you may need!
Conclusion
Removing tile backsplash can be done quickly and efficiently if you have the right materials and tools. When removing, it’s important to consider what type of tile is being removed as different types require different removal methods.
Additionally, keep in mind that safety precautions should always be taken when dealing with power tools like wet saws or water jetting systems.
All in all, understanding how to remove tile backsplash is key for those looking to update their home!